HTTP Authentication
Nginx HTTP Basic Auth
我們先從成熟的 Web Server 來學習 HTTP Basic Auth 的 Round Trip,以 Windows 系統為例
-
打開 CMD,輸入以下指令,輸入完以後,畫面應該會閃一下,代表 Nginx 有成功啟動
cd path/to/your/nginx/folder
start nginx
-
瀏覽器打開 http://localhost/ ,應該會看到
Welcome to nginx!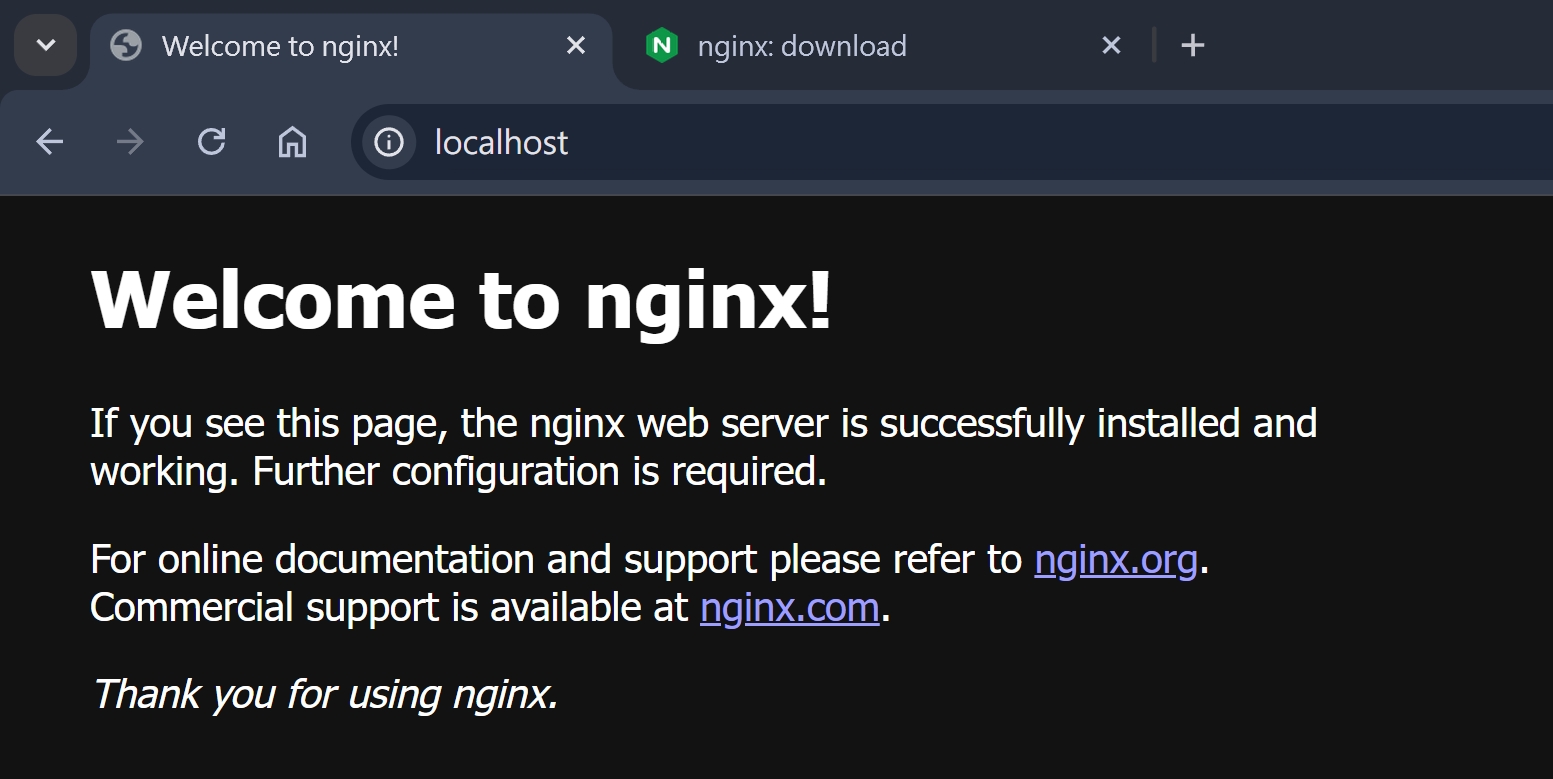
-
用 vscode 打開
conf/nginx.conf,修改location區塊,定義 4 個路由,2 組不同的auth_basic
location = / {
    auth_basic "Closed Site A";
    auth_basic_user_file htpasswdA;
    root   html;
    index  index.html index.htm;
}

location = /analytics {
    auth_basic "Closed Site B";
    auth_basic_user_file htpasswdB;
    root   html;
    try_files /index.html =404;
}

location = /closedA {
    auth_basic "Closed Site A";
    auth_basic_user_file htpasswdA;
    root   html;
    try_files /index.html =404;
}

location = /closedB {
    auth_basic "Closed Site B";
    auth_basic_user_file htpasswdB;
    root   html;
    try_files /index.html =404;
}
- 使用之前安裝過的 XAMPP 的
htpasswd工具生成帳密,其中username請替換成您的帳號,並且後續會要您輸入密碼
cd conf
C:\xampp\apache\bin\htpasswd.exe -c htpasswdA username
C:\xampp\apache\bin\htpasswd.exe -c htpasswdB username
- 此時應該會產生
htpasswdA跟htpasswdB這個檔案,裡面存放的內容會類似
username:$apr1$uOy6UT25$FuzL4XEpG6yZdAwnFOR3..
- 重整 Nginx
cd ..
nginx -s reload
-
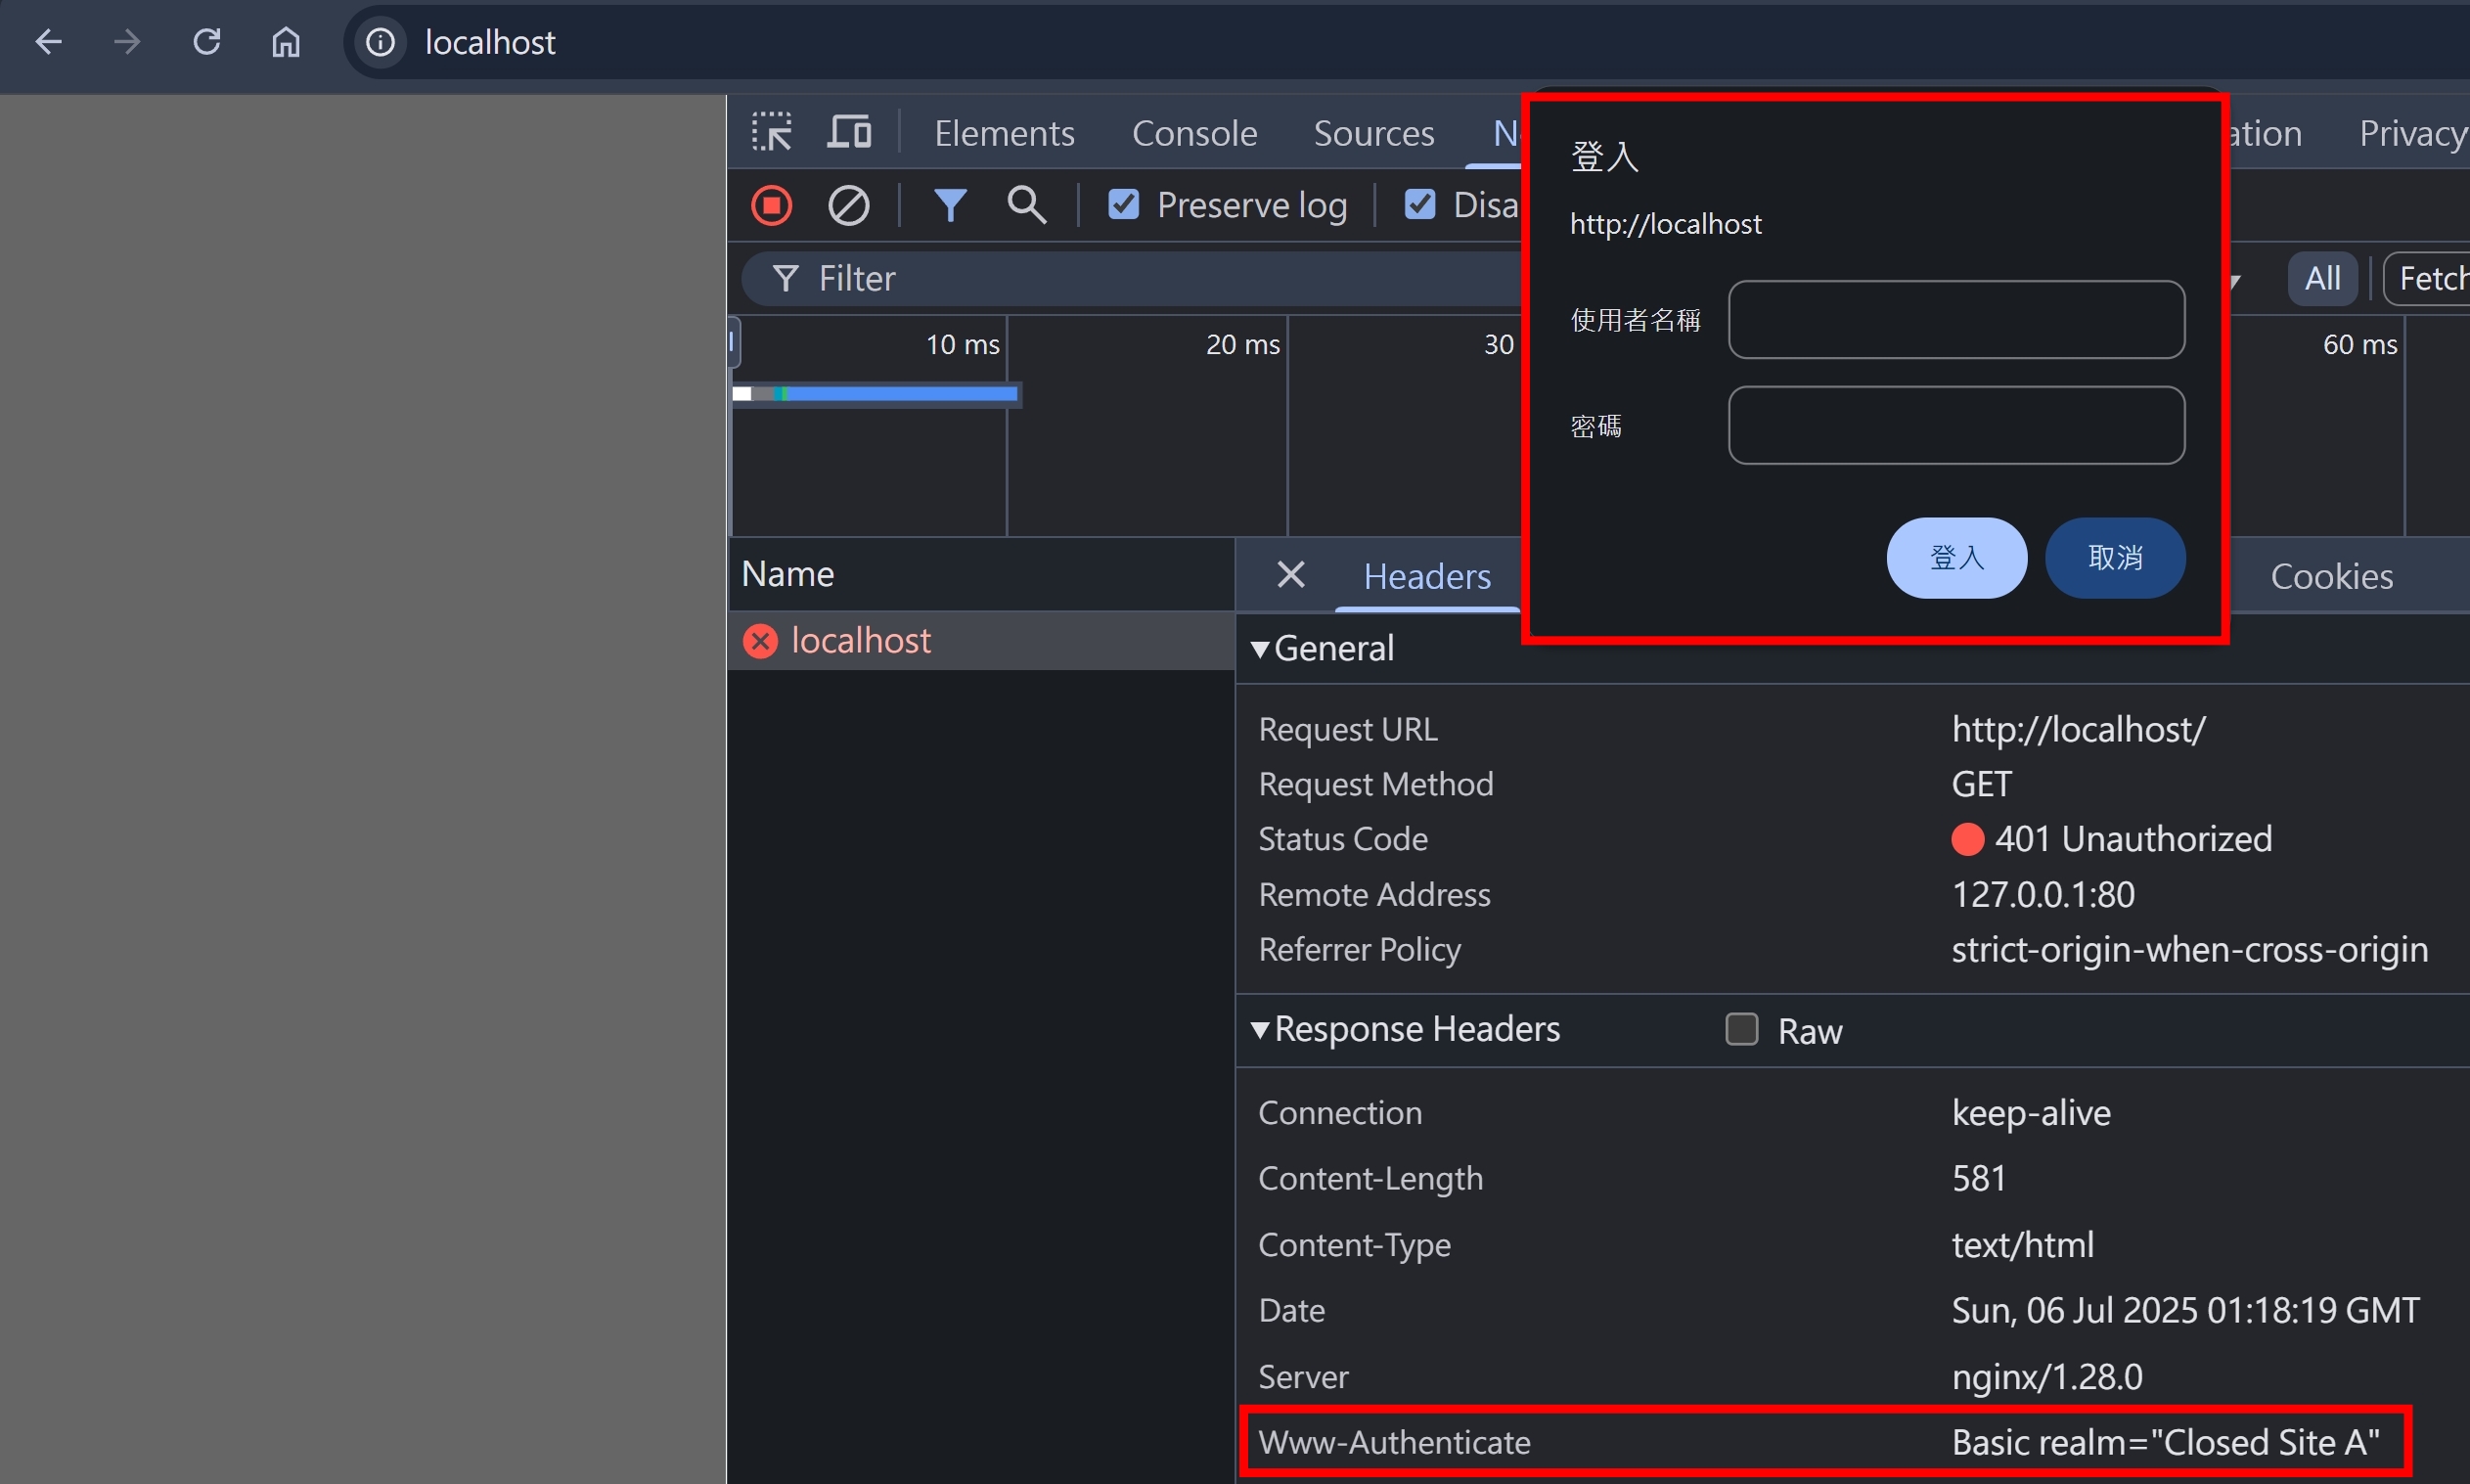
瀏覽器打開 http://localhost/ ,應該會看到瀏覽器原生的帳密輸入框
-
輸入正確的帳密,就會看到
Welcome to nginx! -
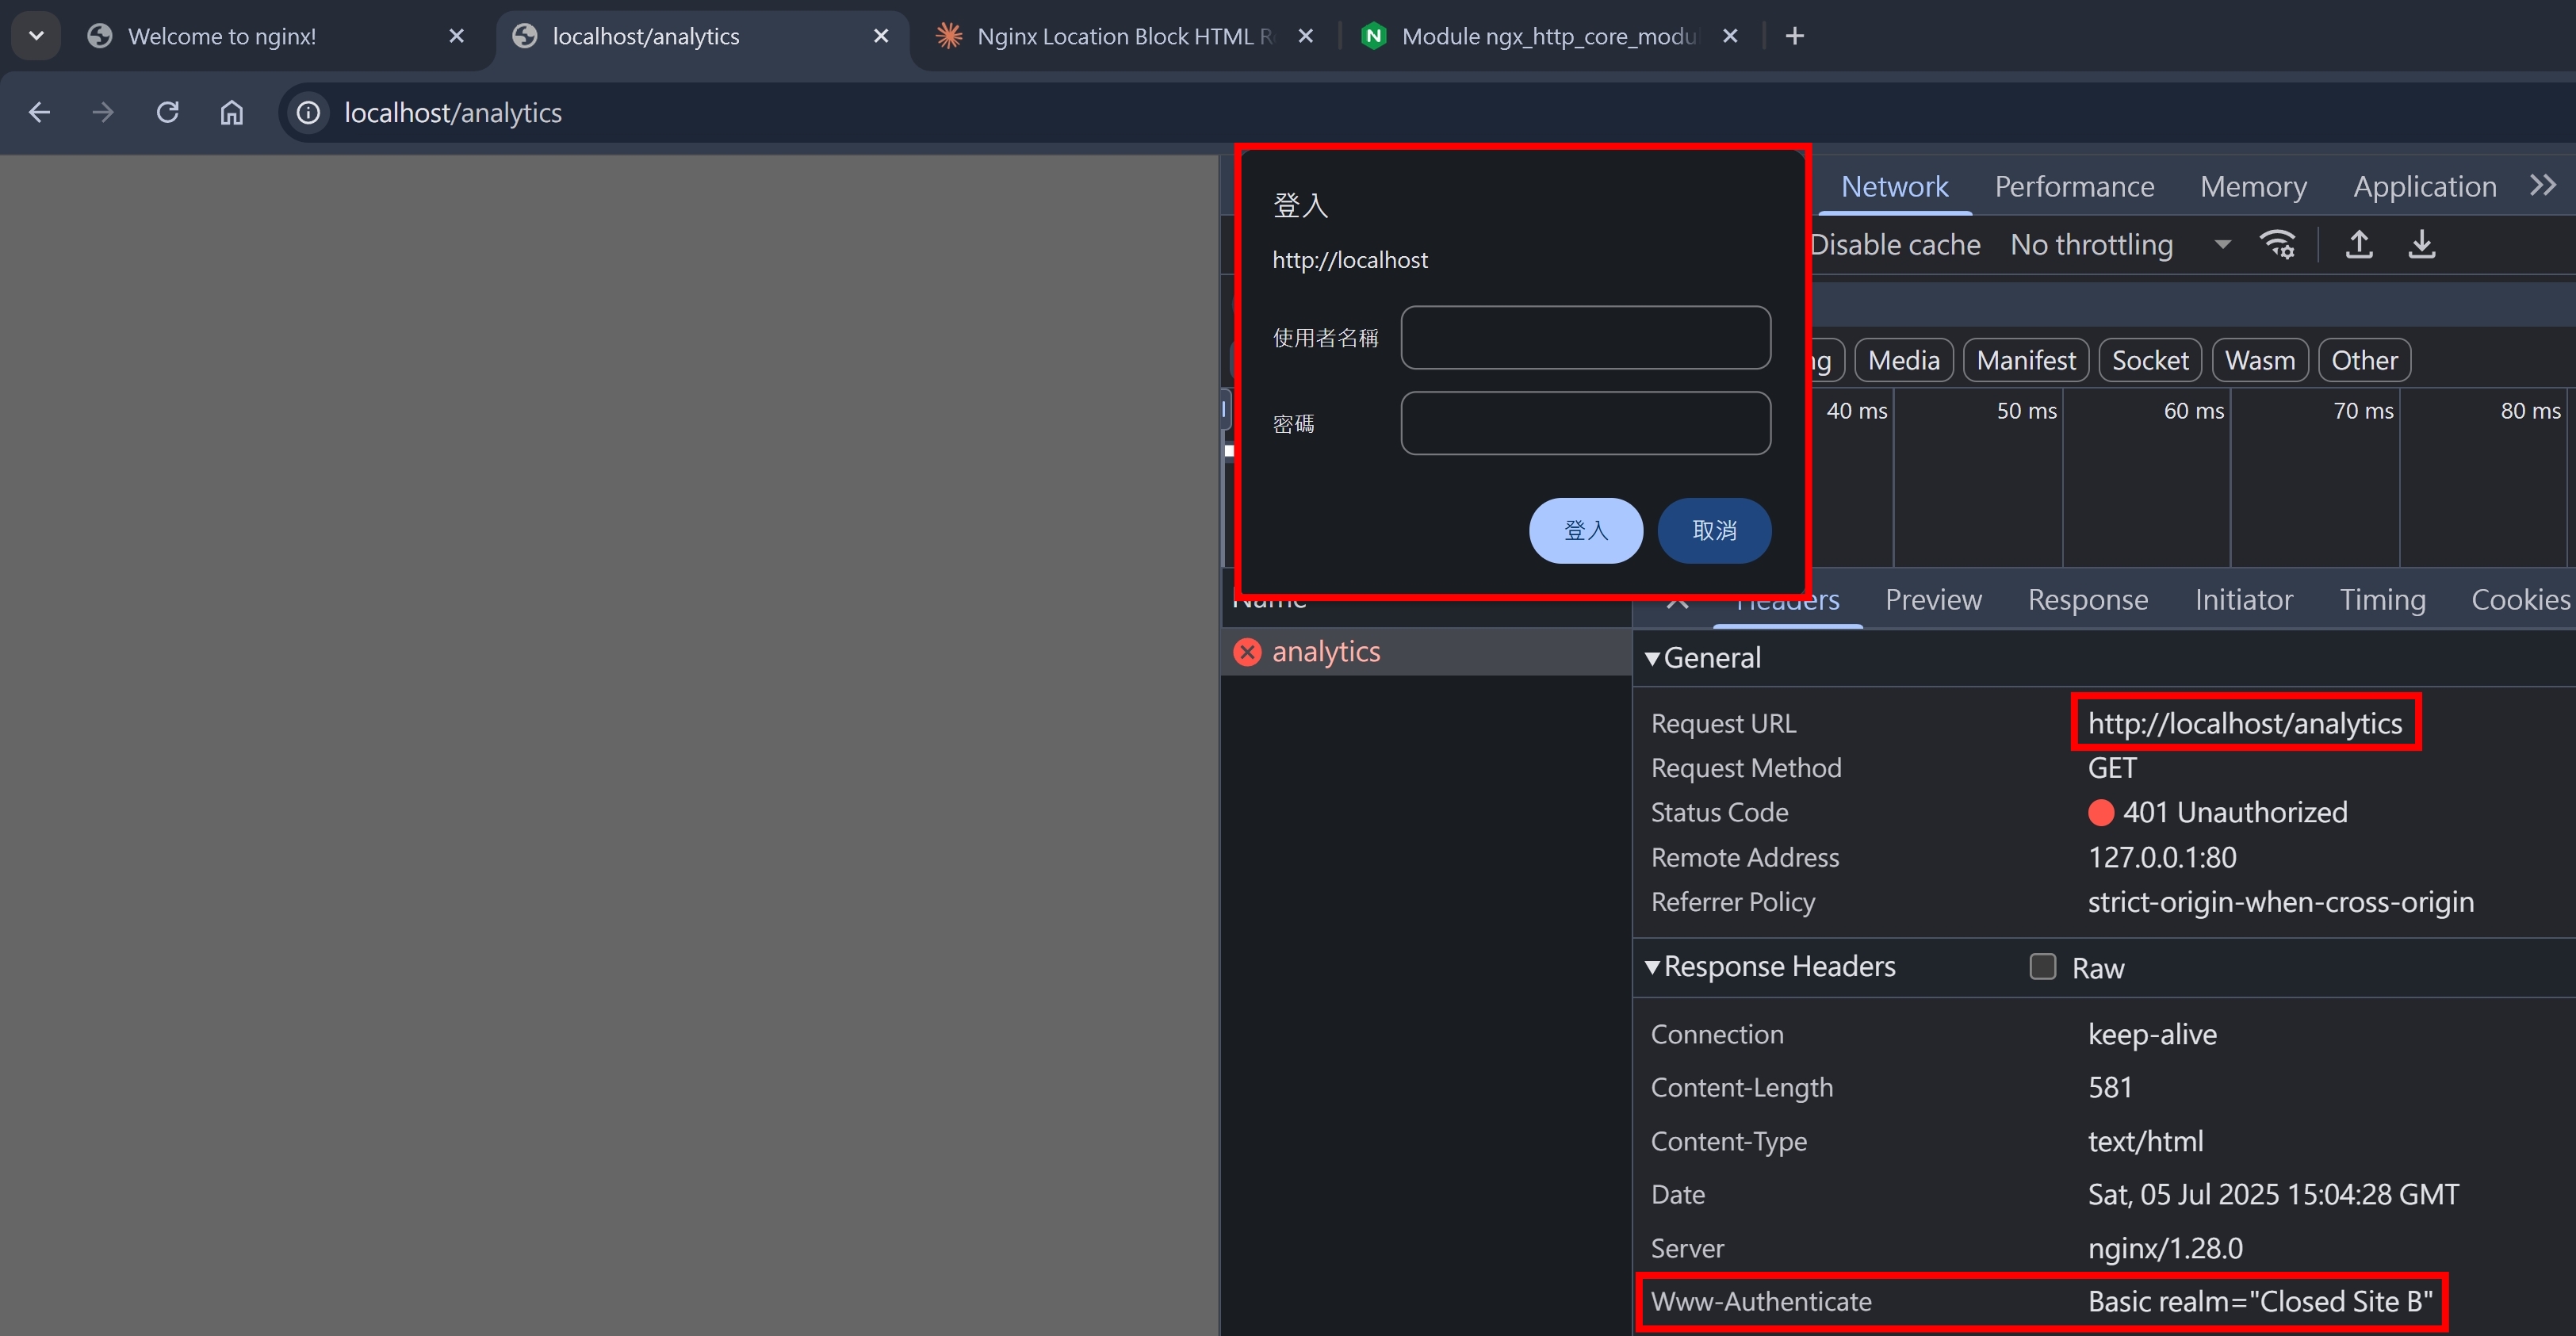
瀏覽器打開 http://localhost/analytics ,應該會看到瀏覽器原生的帳密輸入框
-
輸入正確的帳密,就會看到
Welcome to nginx! -
瀏覽器打開 http://localhost/closedA ,應該會直接看到
Welcome to nginx! -
瀏覽器打開 http://localhost/closedB ,應該會直接看到
Welcome to nginx!
Nginx HTTP Basic Auth 小結
恭喜你完成了 Nginx HTTP Basic Auth 的測試~在這個範例,我們定義兩組不同的 auth_basic,對應到不同的 WWW-Authenticate: Basic realm=${auth_basic},瀏覽器會根據不同的 realm,讓使用者輸入帳密登入
如果直接用瀏覽器的視窗瀏覽頁面,而不是透過 fetch 或是其他 HTTP Client 的話,瀏覽器本身會有一個 "儲存 Basic Auth 登入後帳密的功能",所以我們才有辦法在 http://localhost/ 輸入過帳密後,直接訪問具有同一組 realm 的 http://localhost/closedA
至於瀏覽器什麼時候會把 "儲存的 Basic Auth 帳密" 清除,通常是在該分頁關閉,或是整個瀏覽器的所有分頁都關閉,才會清掉。這點我並沒有找到相關文獻佐證,只能透過嘗試瀏覽器的行為來推測
NodeJS HTTP Server 實作
有了 Nginx HTTP Basic Auth 的概念,這次換我們用 NodeJS HTTP Server 來實作
// Bad Practice,帳密不應該直接明碼直接寫在程式碼內
const basicAuthA = btoa("a:a");
const basicAuthB = btoa("b:b");

// basic auth
if (req.url === "/closedA") {
  if (req.headers.authorization !== `Basic ${basicAuthA}`) {
    res.statusCode = 401;
    res.setHeader("WWW-Authenticate", `Basic realm="Closed Site A"`);
    res.end();
    return;
  }
  res.setHeader("Content-Type", "text/html");
  res.end("<h1>Welcome to Closed Site A</h1>");
  return;
}
if (req.url === "/closedB") {
  if (req.headers.authorization !== `Basic ${basicAuthB}`) {
    res.statusCode = 401;
    res.setHeader("WWW-Authenticate", `Basic realm="Closed Site B"`);
    res.end();
    return;
  }
  res.setHeader("Content-Type", "text/html");
  res.end("<h1>Welcome to Closed Site B</h1>");
  return;
}
透過瀏覽器訪問 http://localhost:5000/closedA 跟 http://localhost:5000/closedB ,可以觀察到跟 Nginx HTTP Basic Auth 一樣的結果~

Browser-Based HTTP Authentication 小結
我們可以把 Browser-Based HTTP Authentication 整理成 Sequence Diagram
為何要特別強調是 Browser-Based,是因為 Browser 在訪問網站時,預設不會帶 Authorization Header。會等到 Server 回傳 WWW-Authenticate: Basic XXX Header 之後,才跳出帳密輸入框,所以總共需要兩個 HTTP Round Trip
但如果是透過程式去存取該資源的話,如果預先知道這個資源需要 Basic Auth,就可以直接用 curl /path/to/resource -H "Authorization: Basic xxx" 來存取,如此便只要一個 HTTP Round Trip 就能解決
Apache Proxy Authenticate
同樣的 HTTP Authentication 概念,到了 proxy 的世界
Authorization=>Proxy-AuthorizationWWW-Authenticate=>Proxy-Authenticate
由於 Nginx 原生好像沒有支援,所以用比較老牌的 Apache 來試試看,以 Windows 系統為例
-
使用之前安裝過的 XAMPP
-
打開 httpd.conf,新增以下設定
LoadModule proxy_module modules/mod_proxy.so
LoadModule proxy_http_module modules/mod_proxy_http.so
LoadModule auth_basic_module modules/mod_auth_basic.so
LoadModule authn_file_module modules/mod_authn_file.so

<VirtualHost *:80>
    # 啟用 proxy 功能
    ProxyRequests On

    # 設定 proxy 授權
    <Proxy *>
        AuthType Basic
        AuthName "Proxy Authentication Required"
        AuthUserFile conf/htpasswd
        Require valid-user
    </Proxy>
</VirtualHost>
- 使用之前安裝過的 XAMPP 的
htpasswd工具生成帳密,其中username請替換成您的帳號,並且後續會要您輸入密碼
cd C:\xampp\apache\conf
C:\xampp\apache\bin\htpasswd.exe -c htpasswd username
- 此時應該會產生
htpasswd這個檔案,裡面存放的內容會類似
username:$apr1$uOy6UT25$FuzL4XEpG6yZdAwnFOR3..
-
重啟 Apache
-
建立一個簡易的 NodeJS HTTP Server,當作 Origin Server
if (req.url === "/") {
  res.setHeader("Content-Type", "application/json");
  res.end(JSON.stringify({ headers: req.headers, url: req.url }));
  return;
}
- 終端機輸入
curl -x http://localhost:80/ http://localhost:5000/ -v
RAW HTTP Request
> GET http://example.com/ HTTP/1.1
> Host: example.com
> User-Agent: curl/8.13.0
> Accept: */*
> Proxy-Connection: Keep-Alive
RAW HTTP Response(可以看到 Apache 回傳 407 Proxy Authentication Required)
< HTTP/1.1 407 Proxy Authentication Required
< Date: Sun, 06 Jul 2025 08:51:05 GMT
< Server: Apache/2.4.58 (Win64) OpenSSL/3.1.3 PHP/8.2.12
< Proxy-Authenticate: Basic realm="Proxy Authentication Required"
< Content-Length: 516
< Content-Type: text/html; charset=iso-8859-1

<!DOCTYPE HTML PUBLIC "-//IETF//DTD HTML 2.0//EN">
<html><head>
<title>407 Proxy Authentication Required</title>
</head><body>
<h1>Proxy Authentication Required</h1>
<p>This server could not verify that you
are authorized to access the document
requested.  Either you supplied the wrong
credentials (e.g., bad password), or your
browser doesn't understand how to supply
the credentials required.</p>
<hr>
<address>Apache/2.4.58 (Win64) OpenSSL/3.1.3 PHP/8.2.12 Server at example.com Port 80</address>
</body></html>
我們試著提供帳密 curl -x http://localhost:80/ http://localhost:5000/ -v -U username:password(帳密請自行替換)
RAW HTTP Request(可以看到 Proxy-Authorization 這個 Header)
> GET http://example.com/ HTTP/1.1
> Host: example.com
> Proxy-Authorization: Basic dXNlcm5hbWU6MTIzNDU2Nzg=
> User-Agent: curl/8.13.0
> Accept: */*
> Proxy-Connection: Keep-Alive
RAW HTTP Response Header
< HTTP/1.1 200 OK
< Date: Sun, 06 Jul 2025 09:12:21 GMT
< Server: Apache/2.4.58 (Win64) OpenSSL/3.1.3 PHP/8.2.12
< Content-Type: application/json
< Content-Length: 110
HTTP Response Body
{
  "headers": {
    "host": "localhost:5000",
    "user-agent": "curl/8.13.0",
    "accept": "*/*",
    "connection": "close"
  },
  "url": "/"
}
HTTP Proxy Authentication 小結
我們可以把 HTTP Proxy Authentication 整理成 Sequence Diagram
跟 Browser-Based HTTP Authentication 不一樣的是,多了一層 Proxy,如果認證沒過,HTTP 請求是完全摸不到 Origin Server 的
http://username:password@localhost:5000/ 是什麼
這是一個已被棄用多年的用法,原因是 username 跟 password 直接寫在 URL,很容易被瀏覽器的歷史紀錄以及 Web Server 的 access.log 紀錄
在 RFC 7230 的描述,也有提到 Userinfo 區塊已被禁止
Userinfo (i.e., username and password) are now disallowed in HTTP and
HTTPS URIs, because of security issues related to their transmission
on the wire.
基本上現代瀏覽器都已經禁止這個方法,但如果透過 Postman 或是 curl,還是可以體驗到這個歷史的功能。我們簡單架一個 NodeJS HTTP Server
import httpServer from "../httpServer";

httpServer.on("request", function requestListener(req, res) {
  // test http://username:password@localhost:5000/
  if (req.url === "/") {
    res.setHeader("Content-Type", "application/json");
    res.end(JSON.stringify({ headers: req.headers, url: req.url }));
    return;
  }
});
測試 curl http://username:password@localhost:5000/,以及用 Postman 發同樣的請求,都可以看到會自動轉換成 Authorization": Basic dXNlcm5hbWU6cGFzc3dvcmQ=,其中 dXNlcm5hbWU6cGFzc3dvcmQ= 就是拿 username:password 去做 base64 轉換的結果
{
  "headers": {
    "authorization": "Basic dXNlcm5hbWU6cGFzc3dvcmQ="
  },
  "url": "/"
}
小結
在設定 Nginx 跟 Apache 的時候,其實踩了很多坑,對於這兩套 Web Server 也有更深入的了解
另外,也學到了 Forward Proxy 跟 Reverse Proxy 的差異
| 特性 | Forward Proxy | Reverse Proxy |
|---|---|---|
| 服務對象 | 客戶端 | 伺服器端 |
| 網路流量 | 出站流量控制 | 入站流量分配 |
| 主要功能 | 訪問控制、匿名化 | Load Balance、SSL Termination、API Gateway |
| 透明度 | 對伺服器透明 | 對客戶端透明 |
| 隱私保護 | 保護客戶端隱私 | 保護伺服器架構 |
| 配置位置 | 客戶端或網路管理員 | 伺服器端管理員 |
其實關於 HTTP Authentication 能寫的內容超多~本篇只有介紹 Basic 這個 auth-scheme,實際上還有超多,如果真的要一個一個說,應該可以分很多篇講。不過,我認為這樣的內容,基本上可以涵蓋 HTTP Authentication 的基本概念了~希望大家有收穫
參考資料
- https://developer.mozilla.org/en-US/docs/Web/HTTP/Authentication
- https://developer.mozilla.org/en-US/docs/Web/HTTP/Reference/Headers/WWW-Authenticate
- https://developer.mozilla.org/en-US/docs/Web/HTTP/Guides/Authentication#the_general_http_authentication_framework
- https://developer.mozilla.org/en-US/docs/Web/HTTP/Reference/Status/401
- https://developer.mozilla.org/en-US/docs/Web/HTTP/Reference/Status/407
- https://developer.mozilla.org/en-US/docs/Web/HTTP/Reference/Headers/Authorization
- https://developer.mozilla.org/en-US/docs/Web/HTTP/Reference/Headers/Proxy-Authenticate
- https://developer.mozilla.org/en-US/docs/Web/HTTP/Reference/Headers/Proxy-Authorization
- https://www.rfc-editor.org/rfc/rfc7230#appendix-A.2
- https://nginx.org/en/docs/http/ngx_http_auth_basic_module.html