Source map
Source Map 是什麼
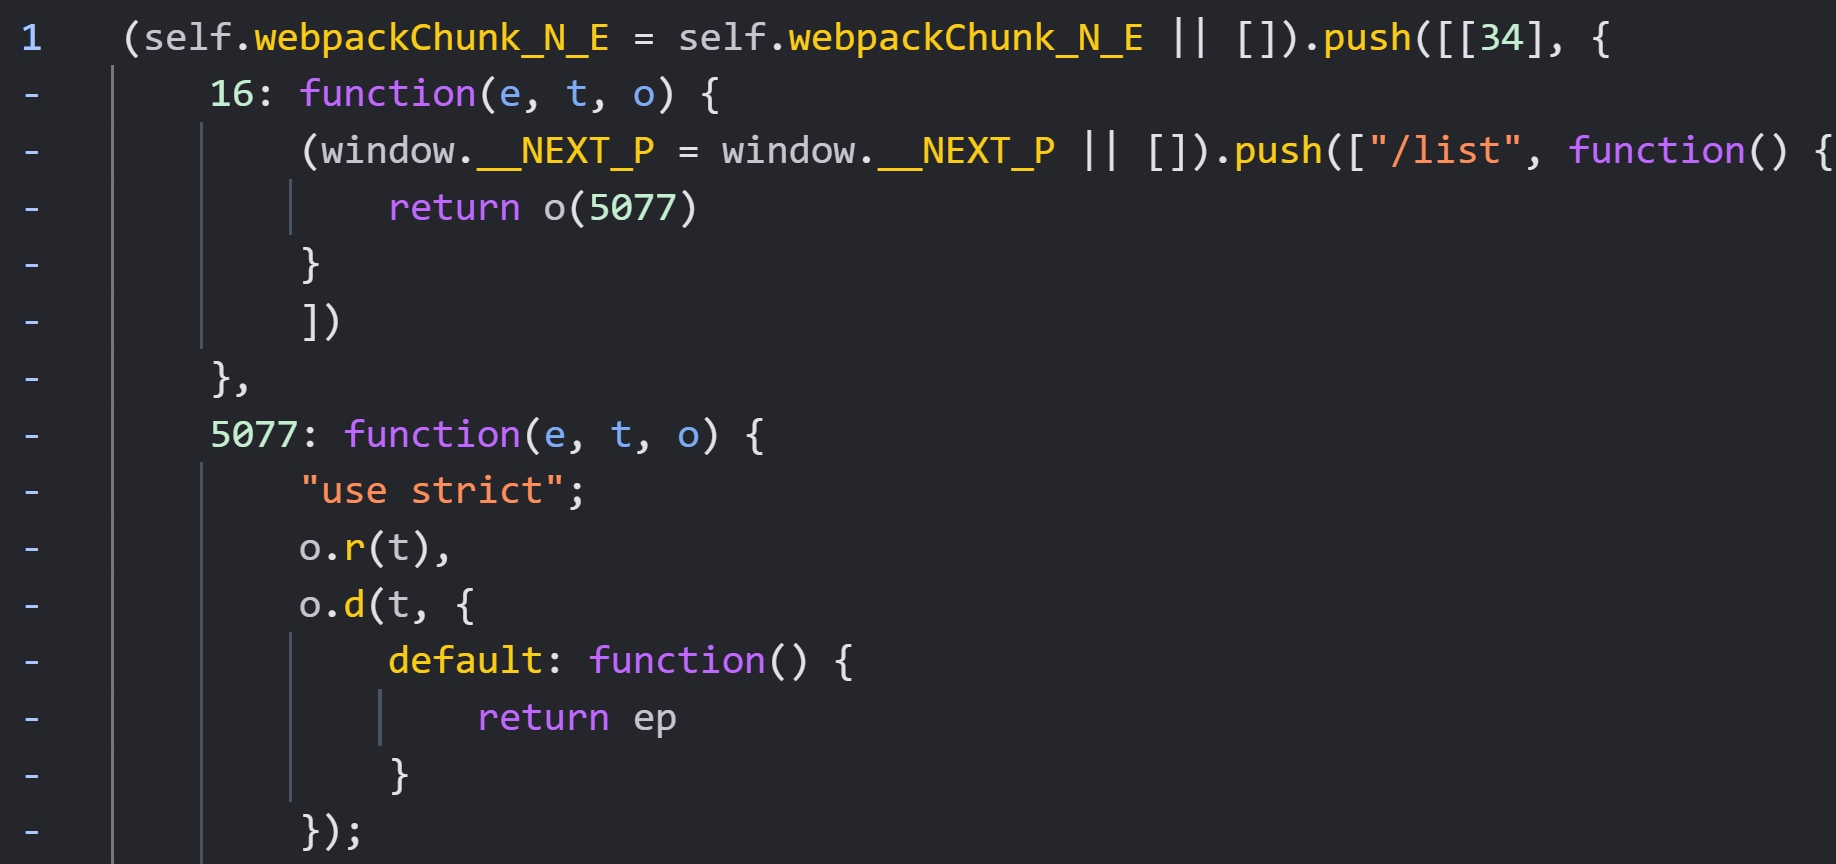
現代前端開發,我們寫的 Code 通常都是打包後才會部署,而打包環節,通常都包含 minify 跟 uglify,導致我們在瀏覽器 debug 的時候,看到的都是這種很醜的程式碼
現代很多打包工具,例如 Webpack, Vite 都有支援 Source Map 的選項,讓開發者可以在 npm run build 階段,打包出 file.js.map 的檔案,這個檔案就可以讓我們在瀏覽器的 DevTools 看到原始的程式碼,方便 debug。
NextJS Enable Source Map
來看看 NextJS 官方文件怎說的
Source Maps are enabled by default during development. During production builds, they are disabled to prevent you leaking your source on the client, unless you specifically opt-in with the configuration flag.
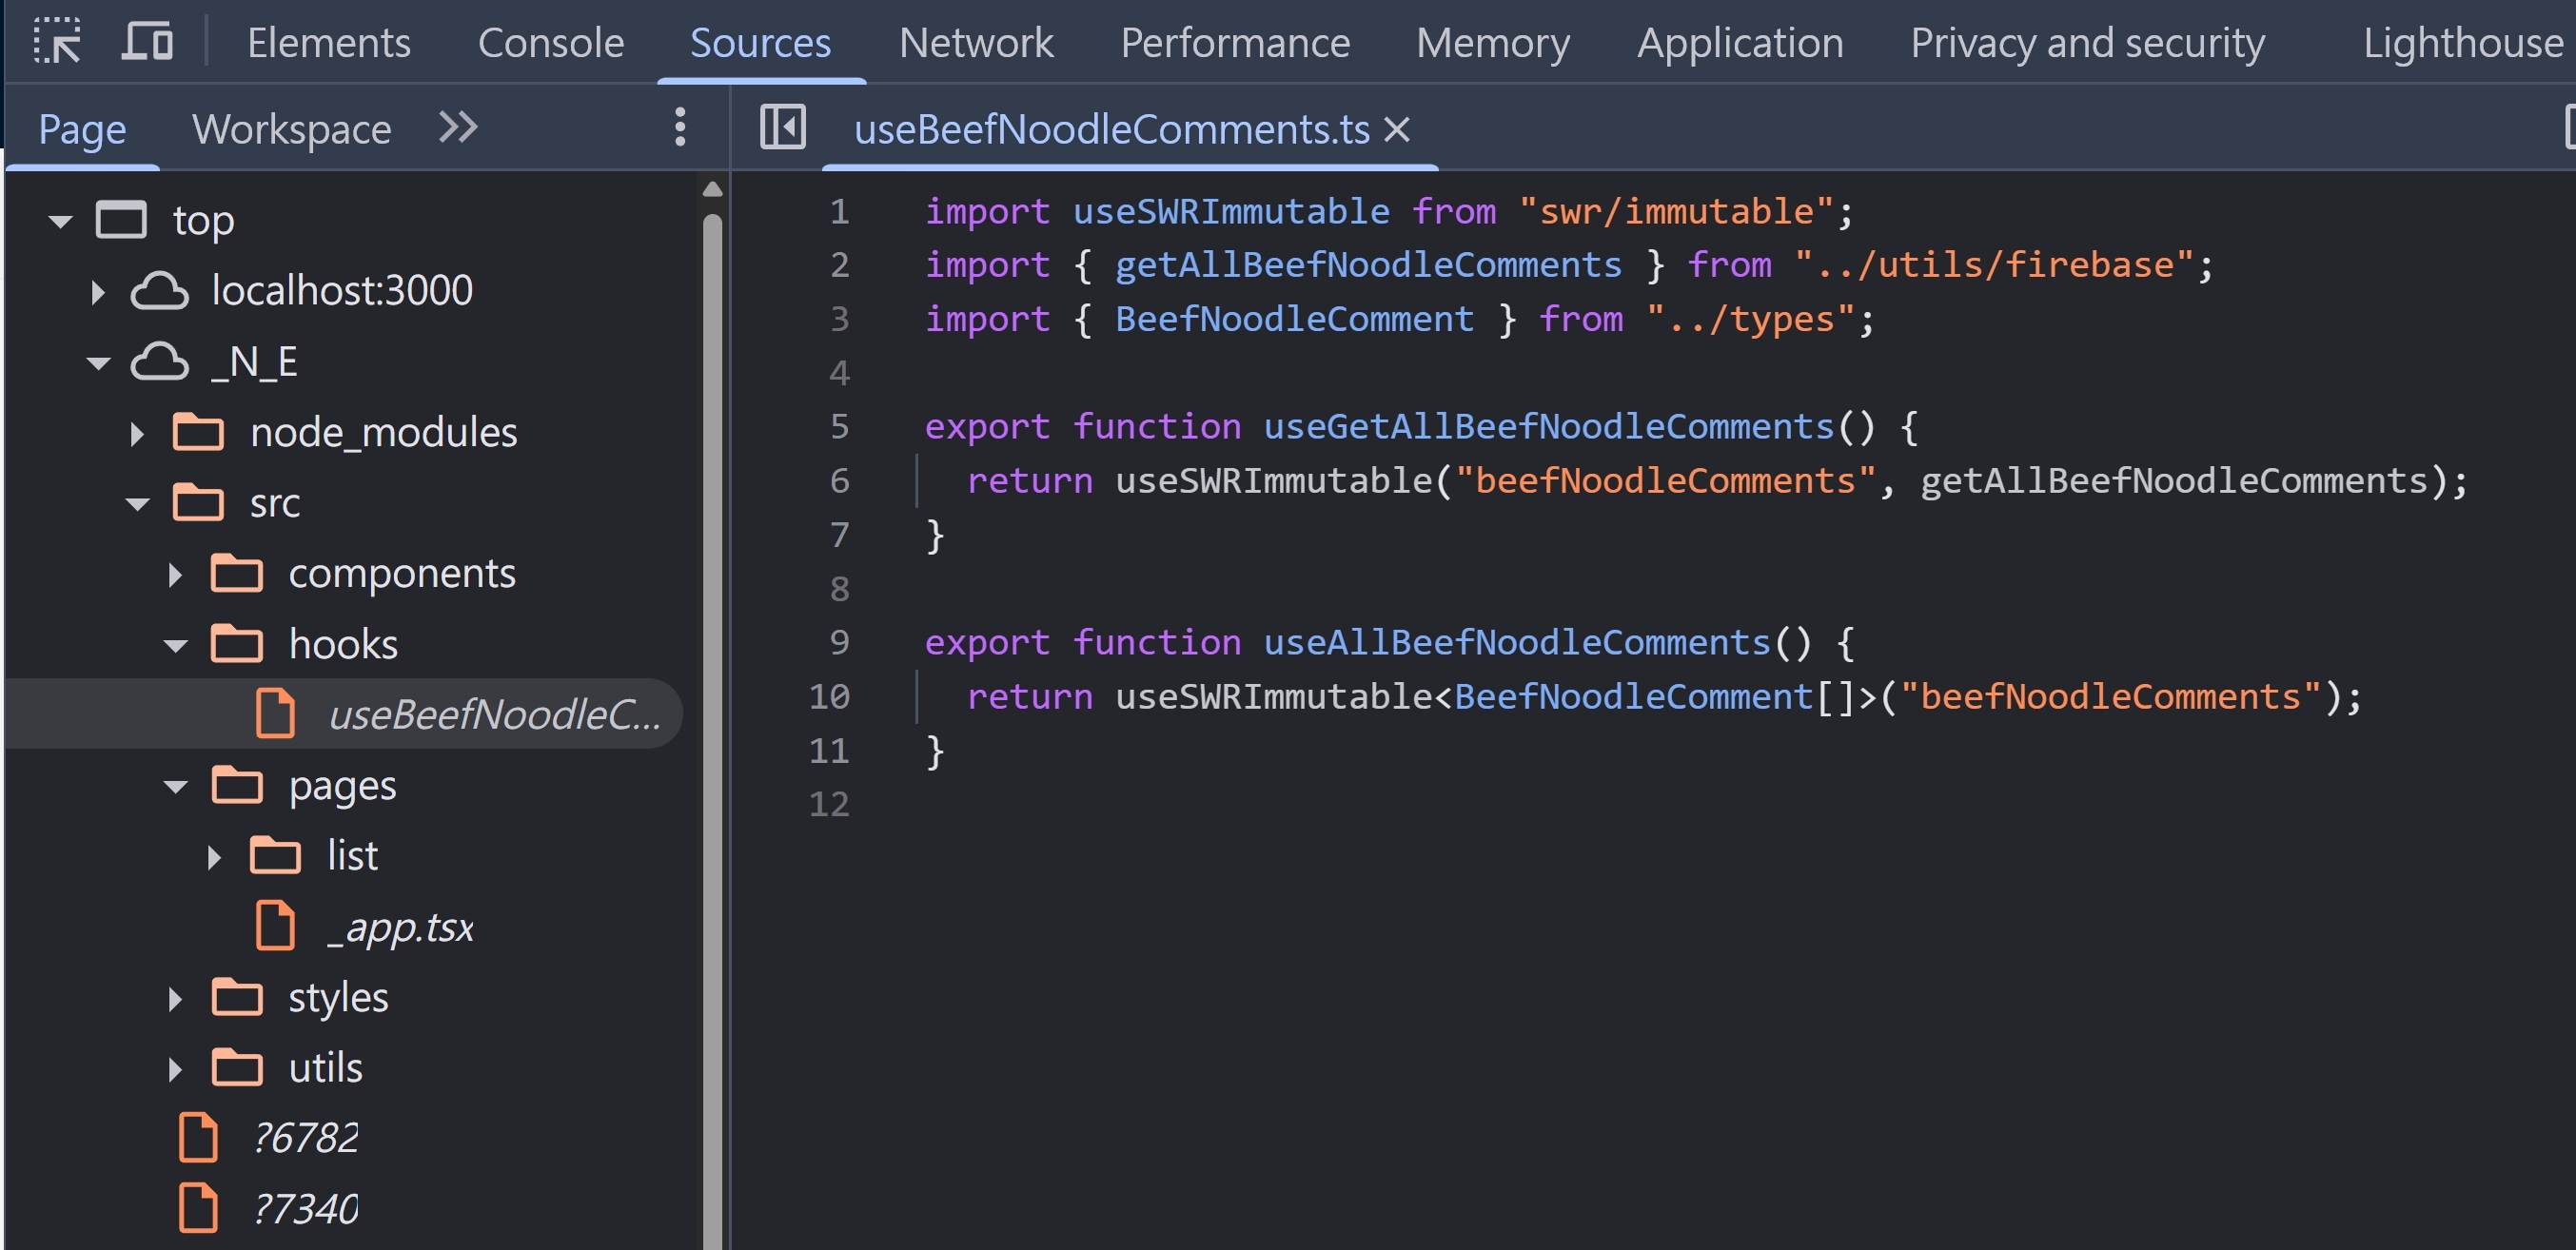
使用 npm run dev 開啟一個 NextJS 專案,確實可以看到原始的程式碼
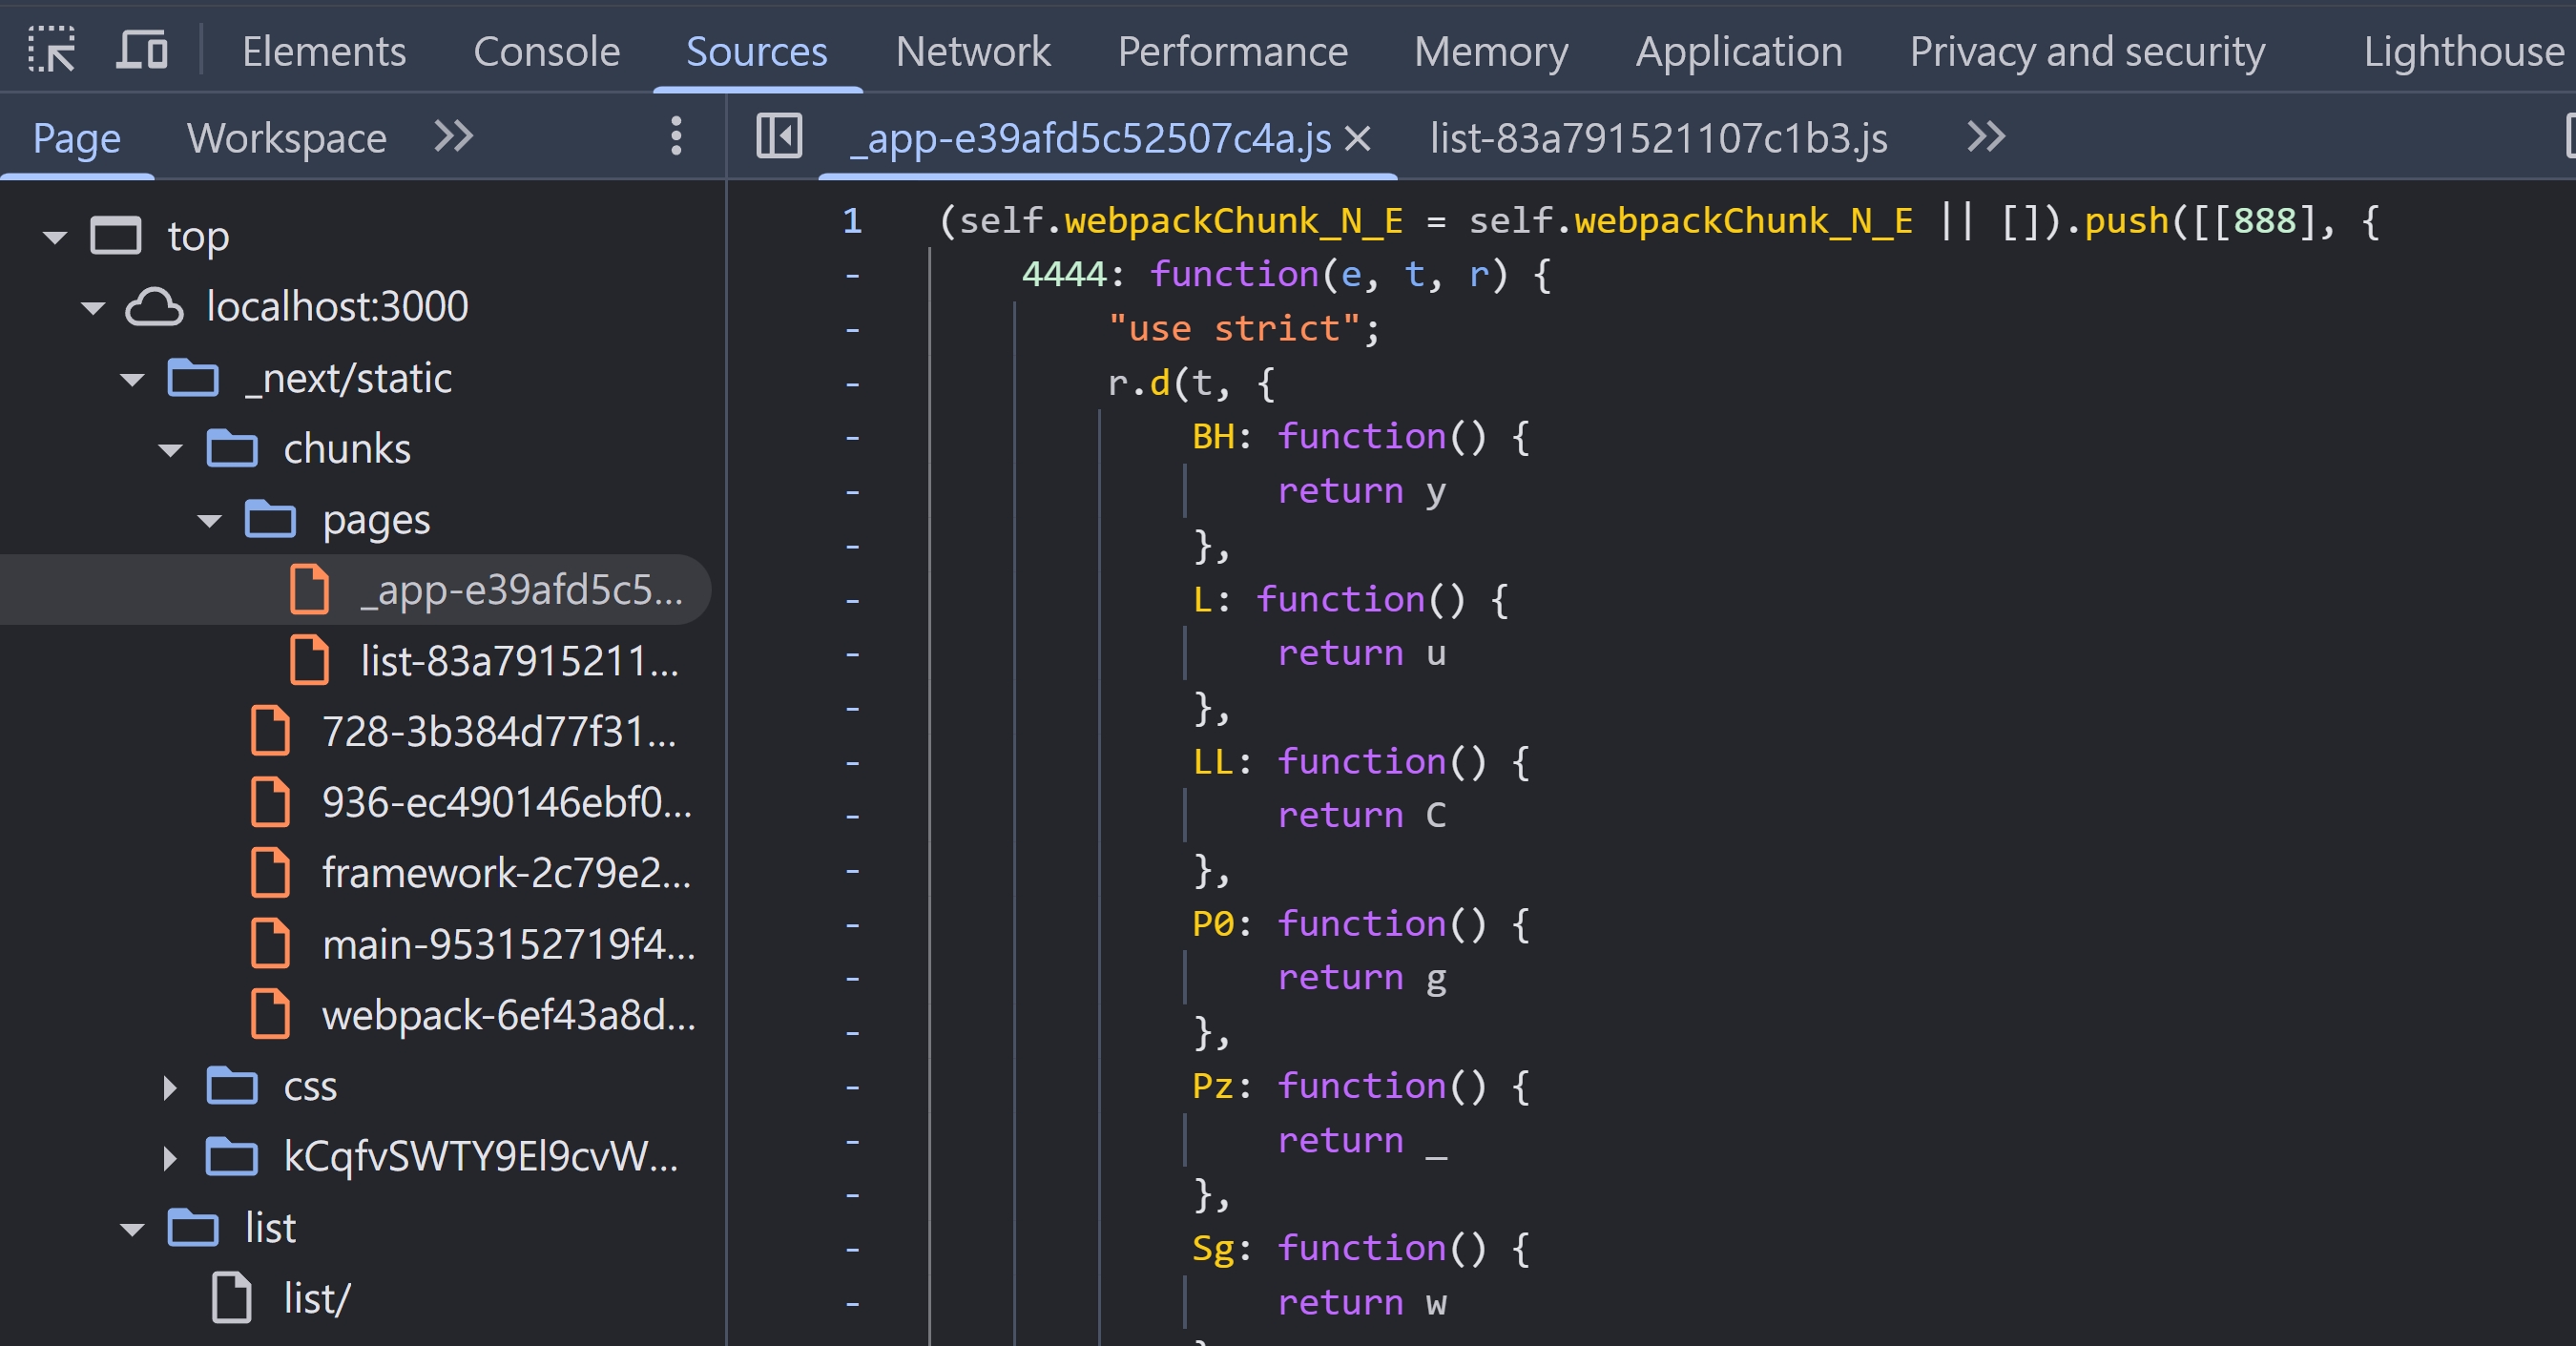
但如果是 production 環境 npm run build && npx serve@latest out 就看不到原始的程式碼了
我們可以在 next.config.js 把 sourceMap 這個功能啟用
/** @type {import('next').NextConfig} */
const nextConfig = {
  output: "export",
  trailingSlash: true,
  productionBrowserSourceMaps: true,
};
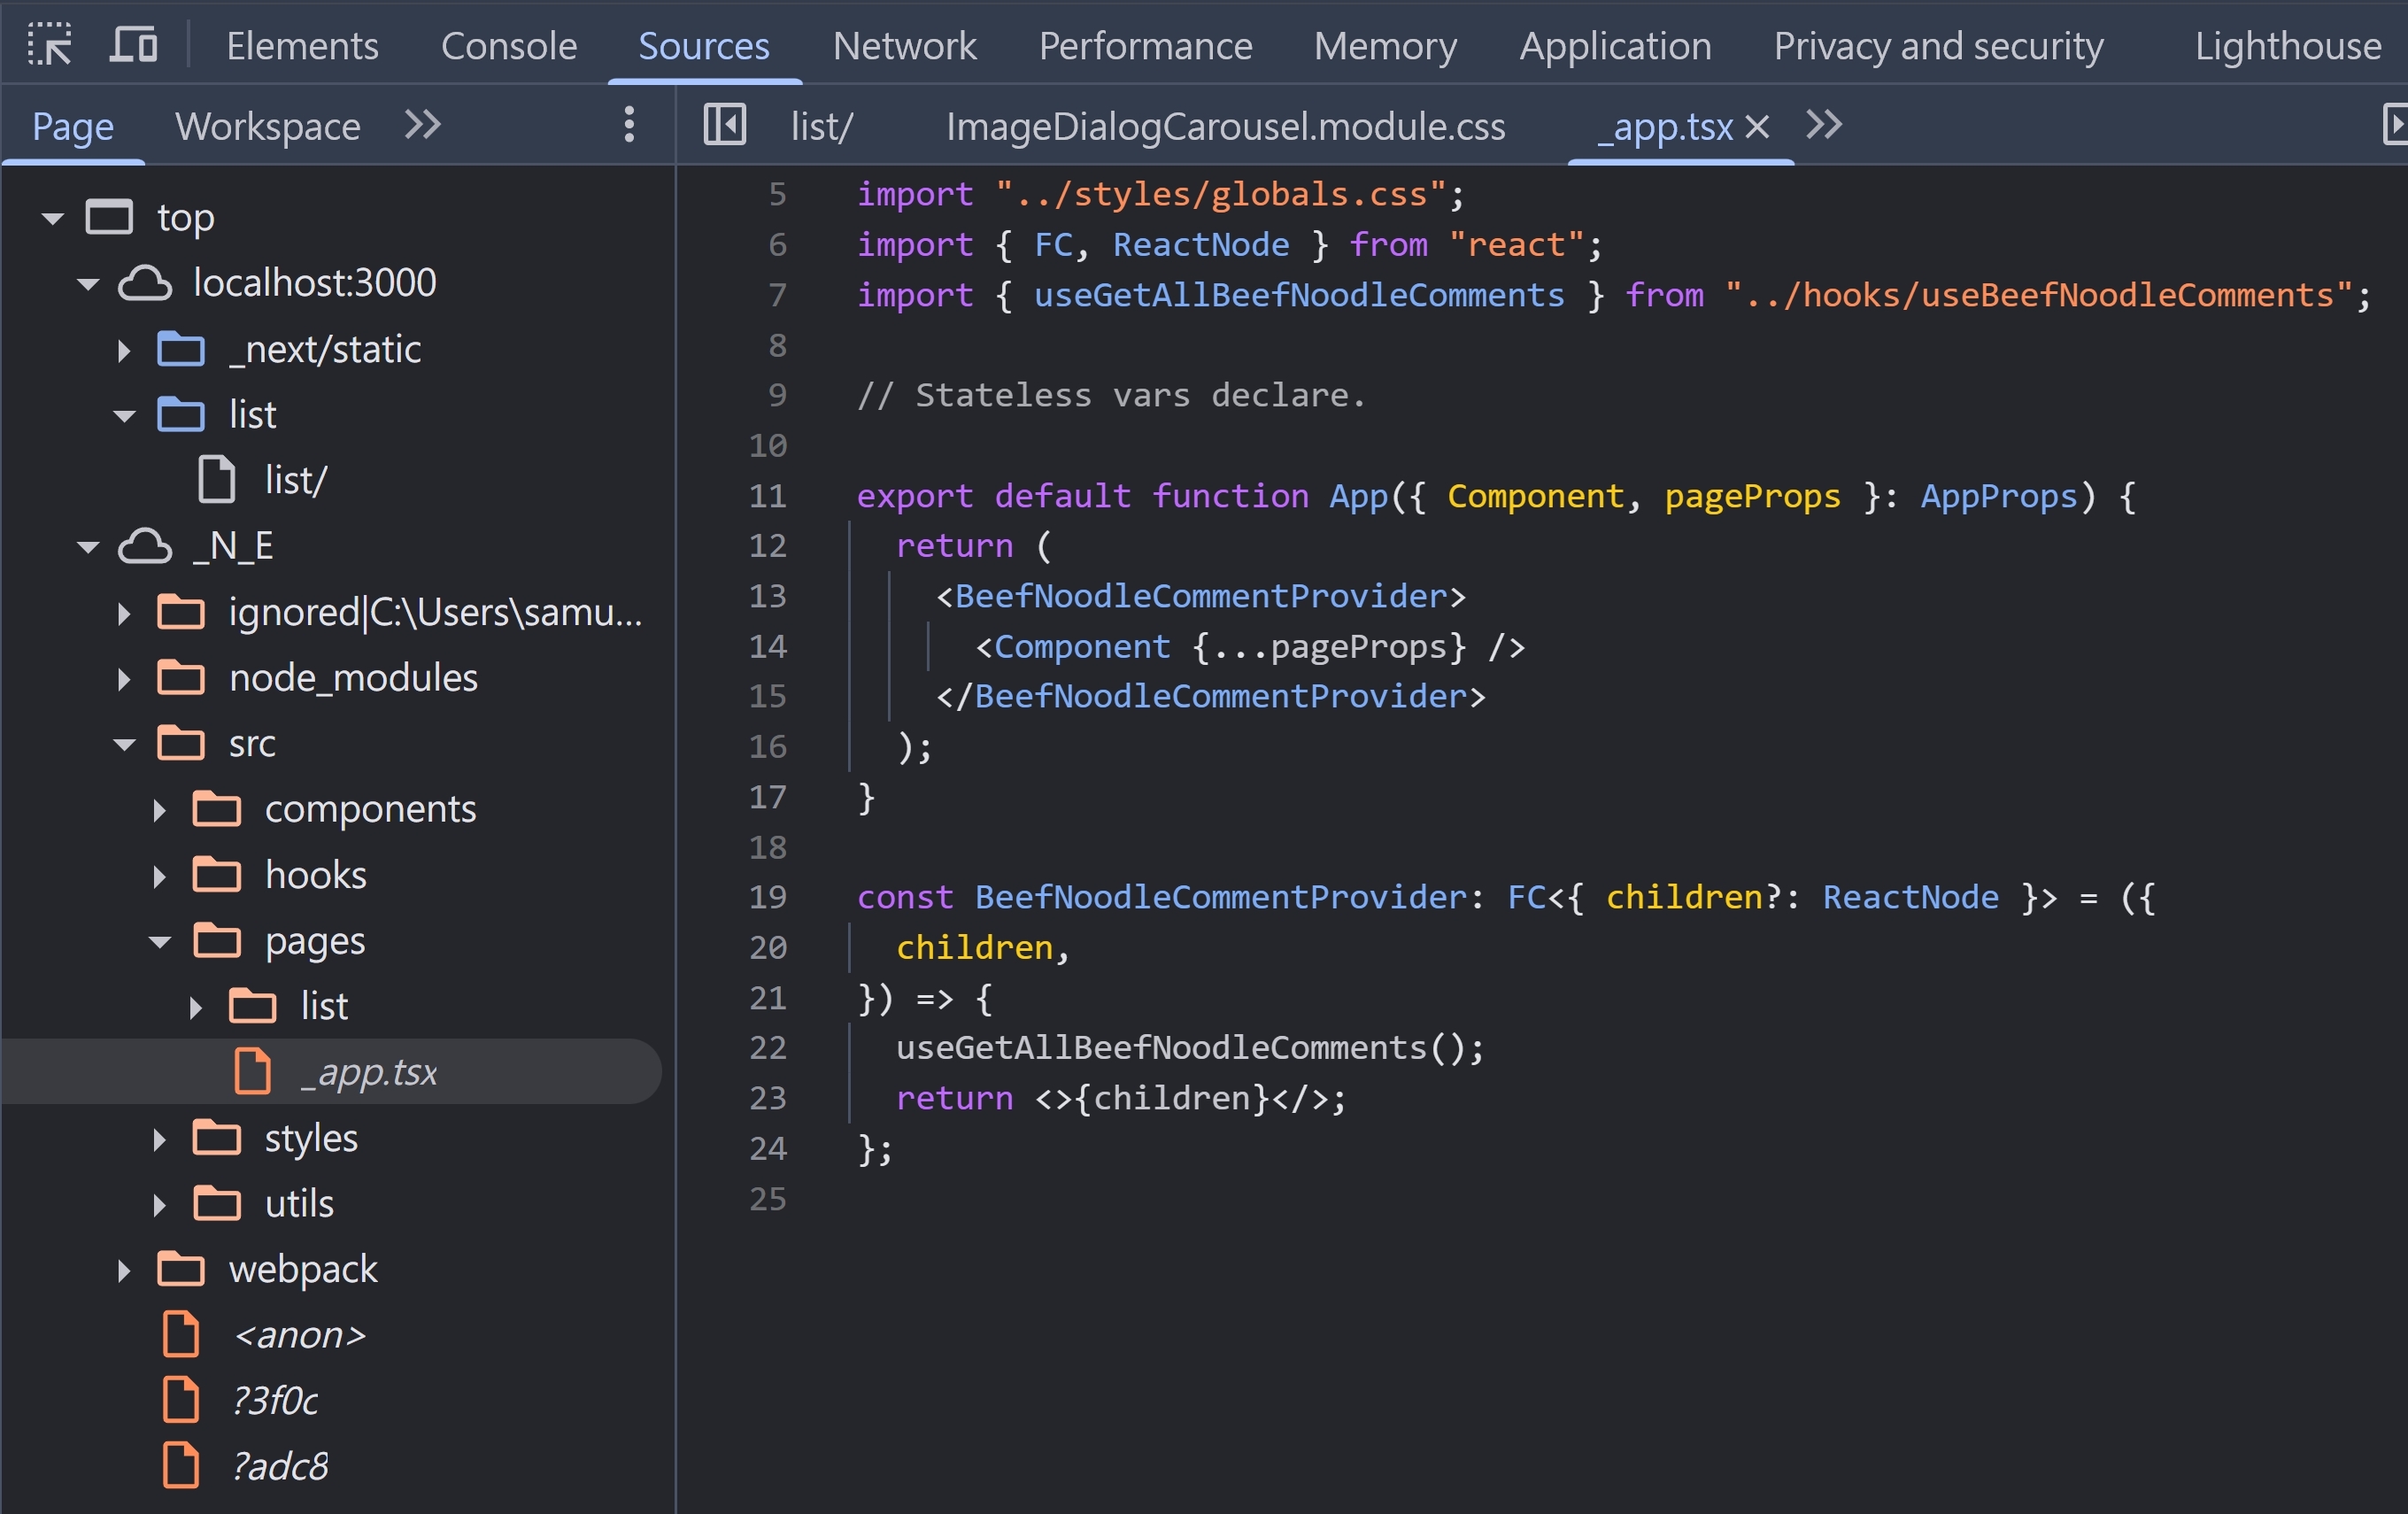
然後重新 npm run build && npx serve@latest out,就可以在瀏覽器的 DevTools 看到原始的程式碼
瀏覽器怎麼知道 .js.map 的對應
其實很簡單~在打包過後的 js,最後一行會有
//# sourceMappingURL=_app-de73d6a6dba3be11.js.map
而 css 也是,最後一行會有
/*# sourceMappingURL=5afdcedd3de5bdb2.css.map*/
Webpack, Vite 這些打包工具在打包時,預設都會以註解來標示對應的 .map 檔。當然,也可以透過 Response Header 來設定,就來到了我們今天的主題。
Response Header 設定 Source Map
- 使用 UglifyJS-online,貼上這段程式碼
function add(num1, num2) {
  return num1 + num2;
}
- 創建
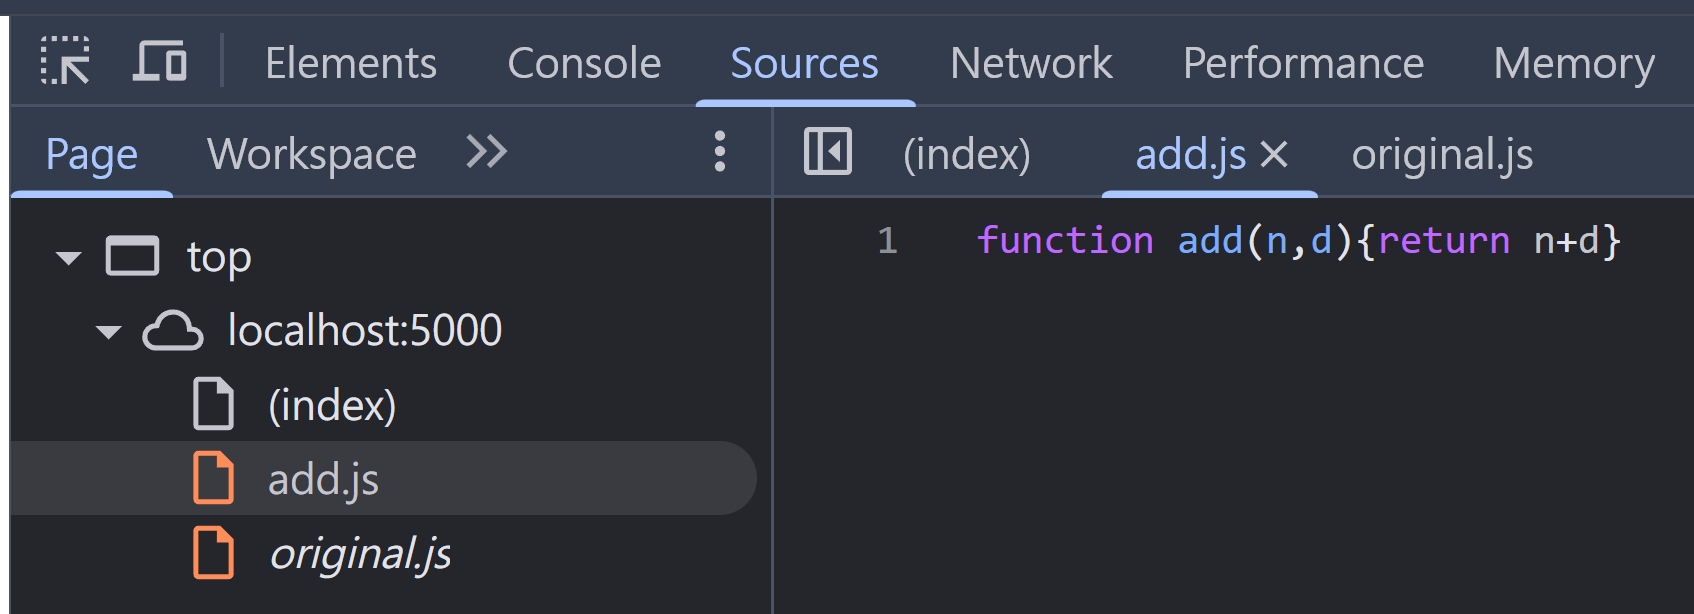
add.js,內容為 UglifyJS 後的內容
function add(n, d) {
  return n + d;
}
- 創建 add.js.map,內容為
{
"version": 3,
"sources": ["original.js"],
"names": ["add", "num1", "num2"],
"mappings": "AAAA,SAASA,IAAIC,EAAMC,GAAK,OAAOD,EAAOC,EAAO",
"file": "uglified.js",
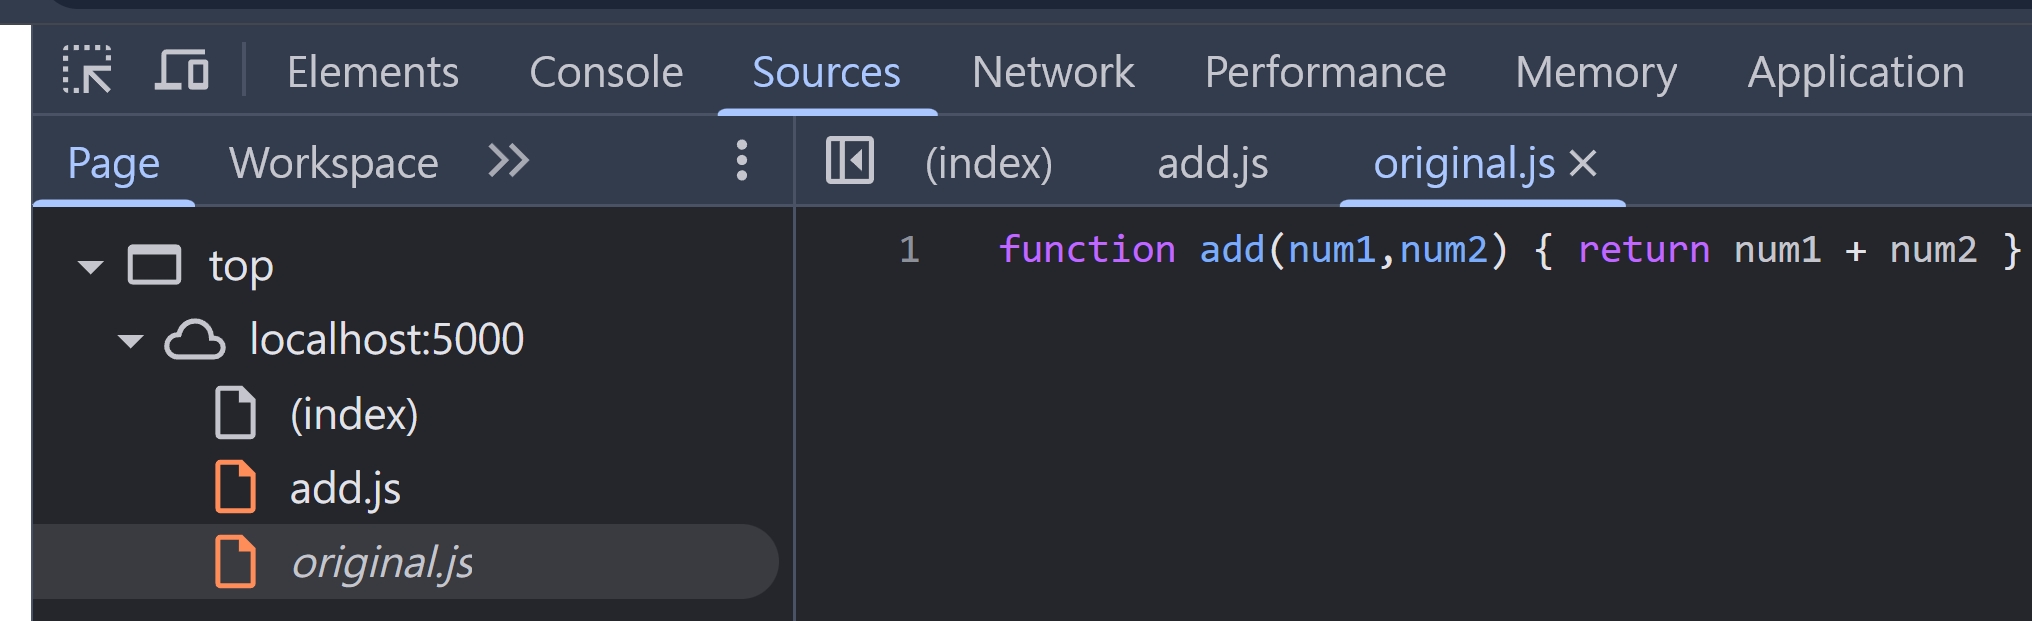
"sourcesContent": ["function add(num1,num2) { return num1 + num2 }"]
}
- 使用 NodeJS HTTP 模組創建一個簡單的應用
index.ts
import { readFileSync } from "fs";
import httpServer from "../httpServer";
import { faviconListener } from "../listeners/faviconListener";
import { join } from "path";

const js = readFileSync(join(__dirname, "add.js"));
const jsMap = readFileSync(join(__dirname, "add.js.map"));

httpServer.removeAllListeners("request");
httpServer.on("request", function requestListener(req, res) {
  if (req.url === "/favicon.ico") return faviconListener(req, res);
  if (req.url === "/add.js") {
    res.setHeader("Content-Type", "text/javascript");
    res.setHeader("SourceMap", "add.js.map");
    res.end(js);
    return;
  }
  if (req.url === "/add.js.map") {
    res.setHeader("Content-Type", "application/json");
    res.end(jsMap);
    return;
  }
  if (req.url === "/") {
    res.setHeader("Content-Type", "text/html");
    res.end('<script src="http://localhost:5000/add.js"></script>');
  }
});
- 瀏覽器打開 http://localhost:5000/ ,可以看到 UglifyJS 後的程式碼,跟原始的程式碼了~
小結
現代前端框架,幫我們處理好太多細節了,像是開發模式的 Source Map。瀏覽器其實也會額外發起請求載入 .map 檔案,只是不會在 NetWork Tab 看到而已。自己動手實作一個 HTTP Server 的過程,也對整個前端開發的架構更了解~
參考資料
- https://developer.mozilla.org/en-US/docs/Web/HTTP/Headers/SourceMap
- https://developer.mozilla.org/en-US/docs/Glossary/Source_map
- https://www.typescriptlang.org/tsconfig/#sourceMap
- https://web.dev/articles/source-maps
- https://nextjs.org/docs/app/api-reference/config/next-config-js/productionBrowserSourceMaps